How-to
How to Record Your Screen on Ubuntu (With Audio)
By John Mikhail · Updated · 8 min read
The short answer: Ubuntu 22.04 and 24.04 ship with a screen recorder built into GNOME. Press Ctrl+Alt+Shift+R to start recording and press it again to stop. The file lands in ~/Videos/Screencasts as a WebM. The catch is that it records no audio at all, not your microphone and not the sound from your apps.
If you need audio, install OBS Studio (sudo apt install obs-studio) or Kooha. Both are free, both work on Wayland, and both record your mic and desktop audio. If you are recording a walkthrough of a web app that other people will watch, the third option is Recordio, a Chrome extension that records the tab, zooms in on what you click, cuts the silence and gives you a link to share. All three methods are below, with the audio settings that trip people up.
Method 1: The built-in GNOME recorder (no audio)
This is the fastest way to grab a quick clip on Ubuntu, and it needs nothing installed. It has been part of GNOME since version 42, so it is on Ubuntu 22.04 LTS, 24.04 LTS and every release since.
Open the screenshot tool
Press the Print key, or open the system menu in the top right and click the camera icon. A small toolbar appears in the middle of the screen.Switch to video mode
Click the video camera icon on the toolbar. Choose Selection to drag out a region or Screen to record everything.Start recording
Click the round red button. A red indicator with a timer appears in the top right of the screen. The shortcut Ctrl+Alt+Shift+R does the same thing without opening the toolbar.Stop and find the file
Click the red indicator or press Ctrl+Alt+Shift+R again. The recording saves to ~/Videos/Screencasts as a WebM file named Screencast followed by the date and time.
What you get is a raw capture. There is no audio, no editing, and no way to change the output format without another tool. It is fine for a bug report or a ten-second clip in a chat message. For anything with narration, keep reading.
Method 2: OBS Studio (microphone and desktop audio)
OBS Studio is free, open source and the most capable recorder on Linux. It is built for live streaming, which is why it looks intimidating, but for a plain screen recording you only need one source and two audio tracks.
Install OBS
Runsudo apt install obs-studio. If your Ubuntu version ships an old release, install the Flatpak from Flathub instead (com.obsproject.Studio) or add the official PPA. The Flatpak works well on Wayland.Add a screen source
In the Sources panel click the plus button. On a Wayland session (the Ubuntu default) choose Screen Capture (PipeWire); your desktop will show a picker for the screen or window. On an Xorg session choose Screen Capture (XSHM).Check the audio mixer
The Audio Mixer panel should show two meters, Desktop Audio and Mic/Aux. Speak and play something; both should move. If one is missing, add it in Settings, then Audio, under Global Audio Devices.Set the output
Open Settings, then Output. Set the recording path, pick a quality preset, and choose MKV as the format. MKV survives a crash mid-recording; you can remux it to MP4 afterwards from the File menu.Record
Click Start Recording in the bottom right. Click Stop Recording when you are done. The file is in the folder you set in step 4.
A lighter alternative: Kooha is a small GTK app made for Wayland. Install it from Flathub (io.github.seadve.Kooha), toggle the microphone and desktop audio icons, pick a screen or window, and click record. It saves MP4, WebM, MKV or GIF. It has none of OBS's configuration and none of its flexibility, which is exactly right for most people.
When you want a polished walkthrough
OBS and Kooha give you a raw file. If the recording is going to a customer, a teammate or a docs page, someone still has to trim it, zoom in on the small text, add captions and upload it somewhere. That is the part Recordio automates. It runs as an extension in Chrome, Chromium, Edge or Brave on any distro, so there is no package to install and nothing that needs sudo. You do need a free account.
Install the extension and sign in
Add Recordio from the Chrome Web Store and sign in with a free account. Our screen recorder for Linux page lists the distros and browsers we have tested.Pick the tab and your microphone
Open the tab with the product you want to walk through, click the Recordio icon and choose your mic. Recording the tab, rather than the whole screen, is what lets Recordio read the page.Record
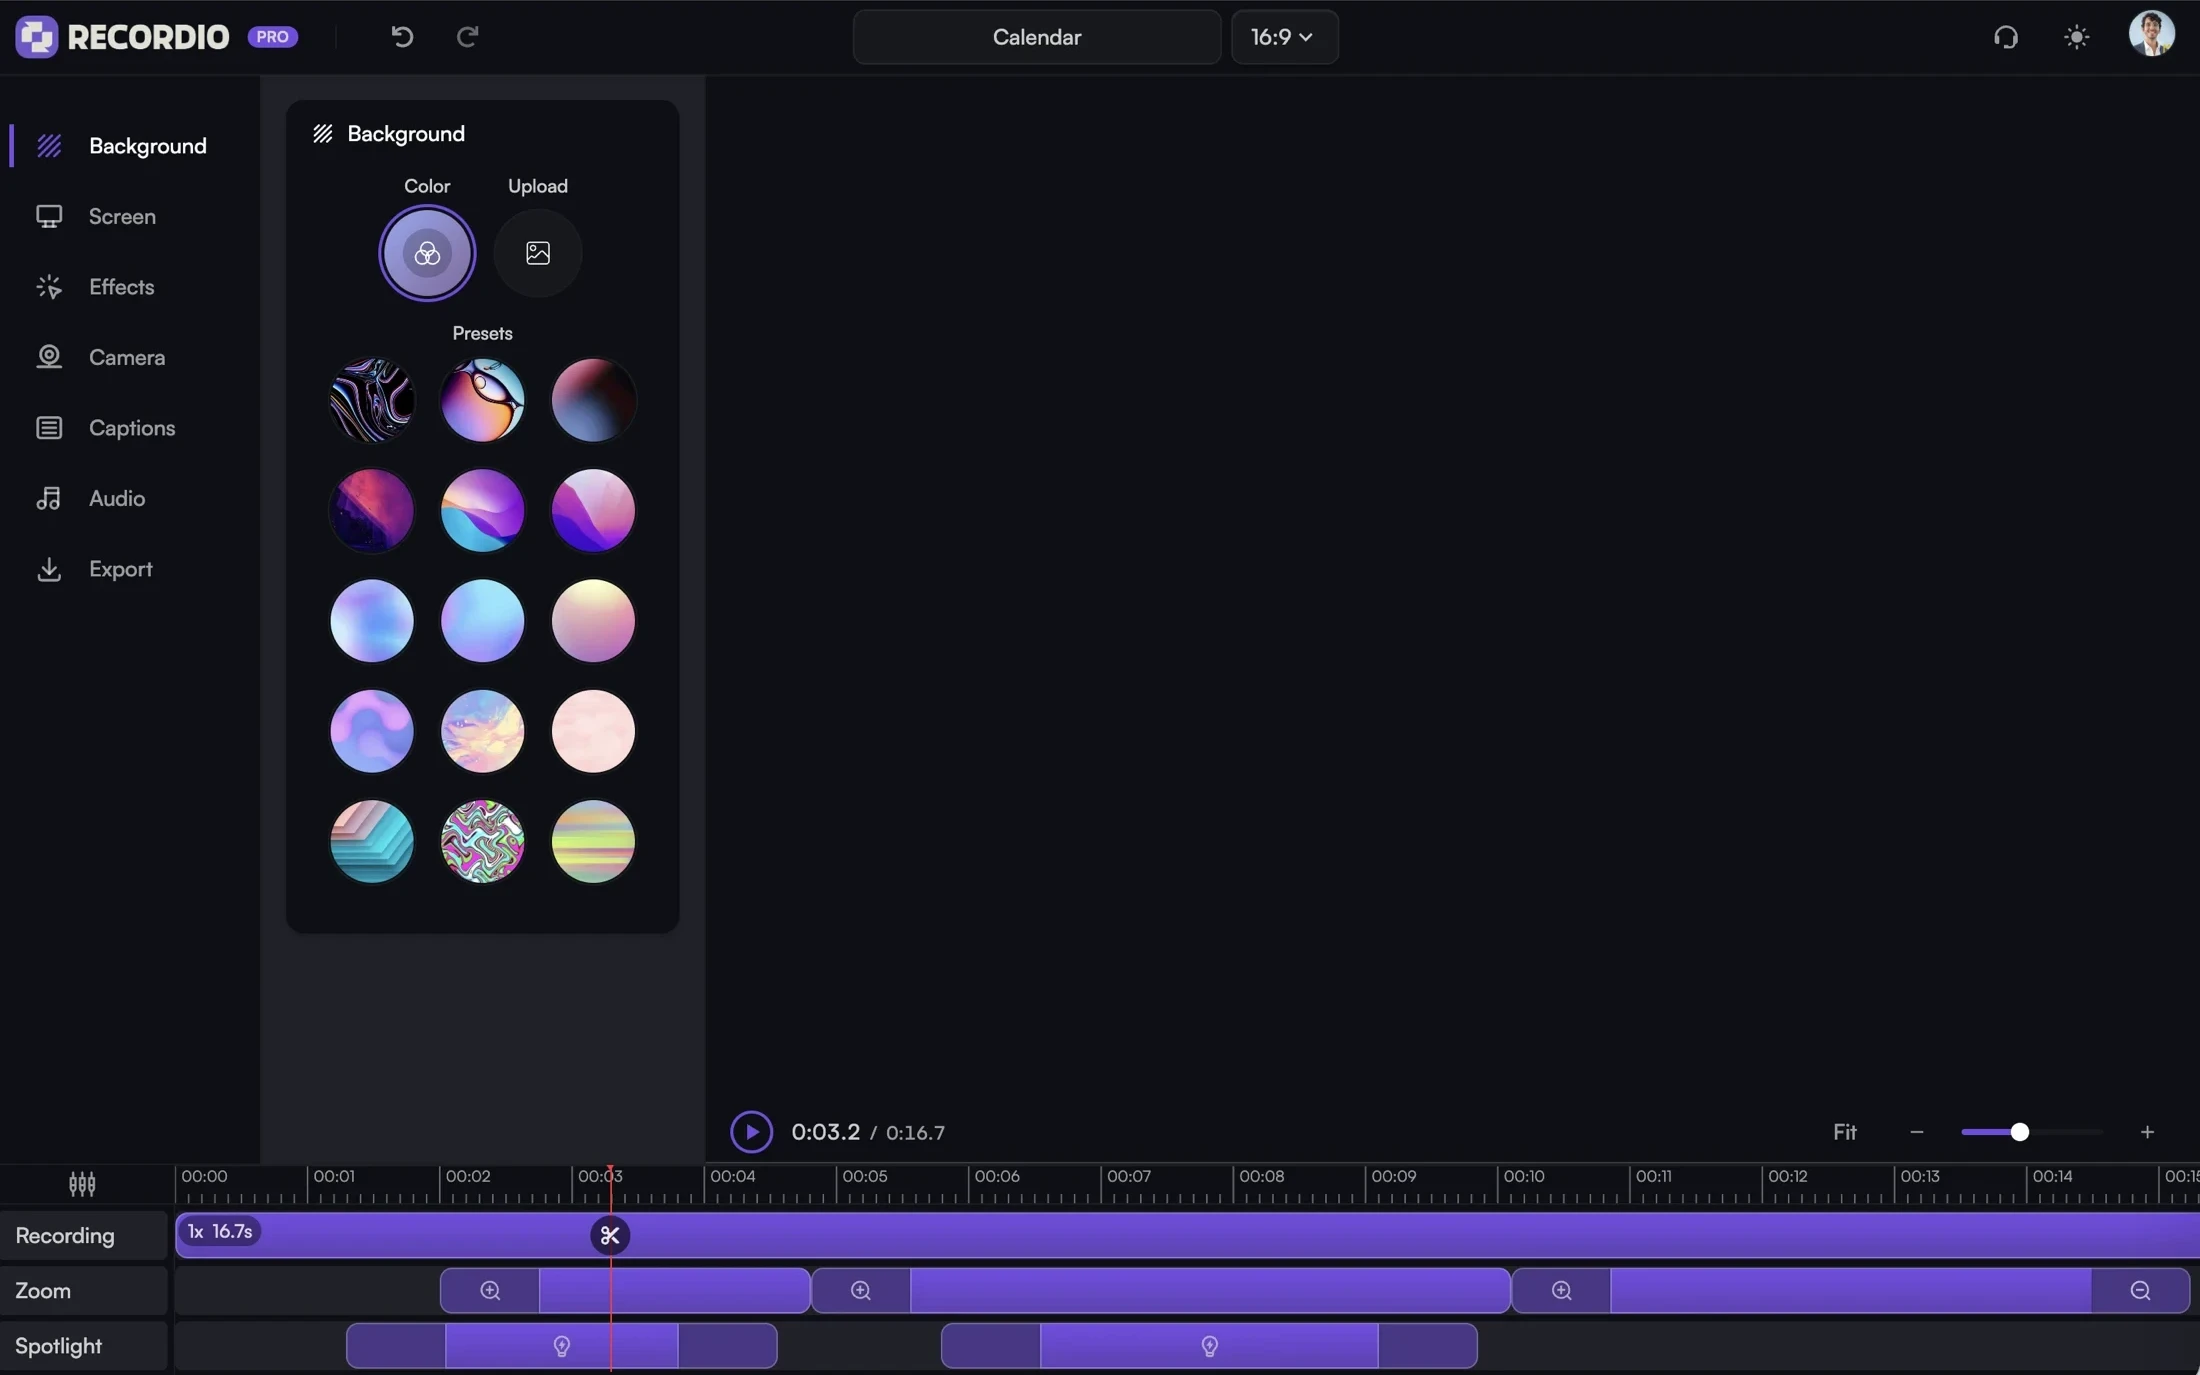
Click record and use the product as you normally would. Auto zoom frames each input, card or menu you interact with, and auto spotlight lifts the element off the page. The simplified toolbar hides your bookmarks and other tabs.Review in the editor
When you stop, the project opens in the web app. Smart AutoCut has already removed the silence while keeping the pauses where you were typing or clicking. Every zoom is an editable keyframe. On Pro, AI captions come with word-level timing; delete a caption line to cut that segment.Download or share a link
Download 1080p on the free plan or 4K on Pro. Pro also gives you a share link with view counts and watch time, and a team library so the rest of your team can find the video later.
For a side-by-side look at where OBS is the better tool, read Recordio vs OBS. If you are new to walkthrough videos, our guide on how to make a product walkthrough video covers scripting and length.
Getting the audio right on Ubuntu
Microphone
Ubuntu 22.10 and later use PipeWire; earlier releases use PulseAudio. Either way, open Settings, then Sound, and check the Input section. Pick the right device and talk; the level meter should move. If it does not, the mic is muted or the wrong input is selected. Every recorder, including OBS, Kooha and Recordio, uses whatever input the system reports here.
Desktop (system) audio
OBS's Desktop Audio track listens to your default output device. If you switch to headphones after starting OBS, go to Settings, then Audio, and pick the new device. Wear headphones while recording, otherwise your mic picks up the speakers and you get an echo. Kooha records desktop audio when the speaker icon is toggled on.
In Chrome-based recorders such as Recordio, audio from the page is captured when you record a tab, because the browser owns that tab's sound. Full-screen and window capture on Linux record your microphone but not desktop audio; that is a limitation of Chrome on Linux, not of the extension.
Troubleshooting
1. OBS shows a black screen
You are almost certainly on Wayland with an XSHM source. Remove it and add Screen Capture (PipeWire) instead. If the picker never appears, install xdg-desktop-portal-gnome (or the KDE equivalent) and log out and back in. As a last resort, choose the "Ubuntu on Xorg" session at the login screen.
2. The recording has no sound
Check three places in this order. First, the mixer in OBS: a muted track shows a red speaker icon. Second, Settings, then Audio, where the mic device may be set to Disabled. Third, open pavucontrol (or pwvucontrol on PipeWire), go to the Recording tab while OBS is running, and confirm it is attached to the right source. In Recordio, make sure you chose a mic in the popup and that the browser has microphone permission for the extension.
3. Playback stutters or the file is huge
Drop to 30 frames per second and 1080p in OBS's Output and Video settings, and try the VAAPI hardware encoder on Intel or AMD graphics. Close what you are not showing. For Recordio, the free plan renders in your browser, so keep that tab in focus while it exports; Pro renders in the cloud so you can close the tab.
Which method should you use?
| Need | Use | Why |
|---|---|---|
| A silent clip in ten seconds | GNOME recorder | Already installed, one shortcut |
| Narrated recording, any app, any length | OBS or Kooha | Free, records mic and desktop audio |
| A web app walkthrough to share with people | Recordio | Auto zoom, AutoCut, captions, share link, team library |
| Recording a game or a stream | OBS | Scenes, overlays, hardware encoding |
Whatever you choose, do a five-second test recording first and play it back. Most "my Ubuntu recording has no audio" problems show up right there, before you have recorded twenty minutes. If you also work on other machines, the same steps for Mac and Chromebook are on the blog, and our ranked list of screen recorders covers the paid options.